

No-Sew Ribbon Tie Tutu
Posted by The Hair Bow Co. on Aug 1st 2013
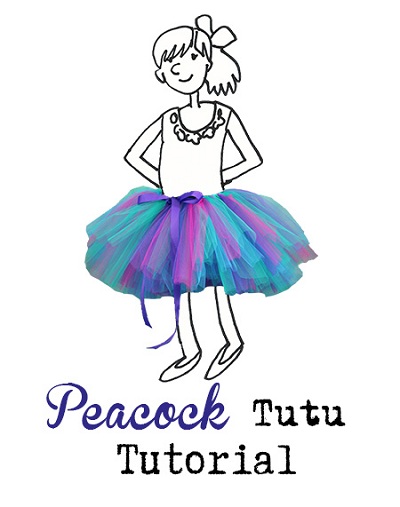
Ribbon Tutus!
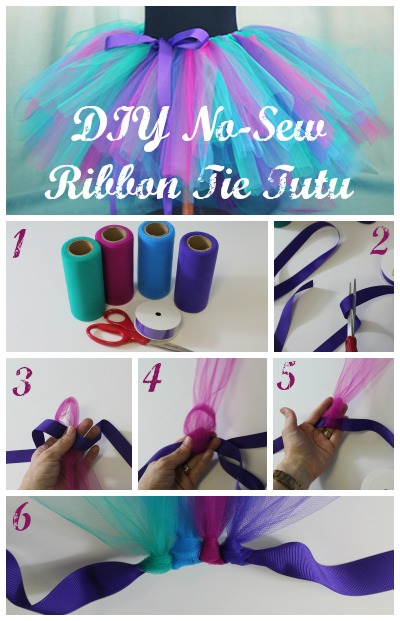
How to make your own custom no sew ribbon tutu!
So we aren't all crafters, but this is super easy y'all!!! You can do this!
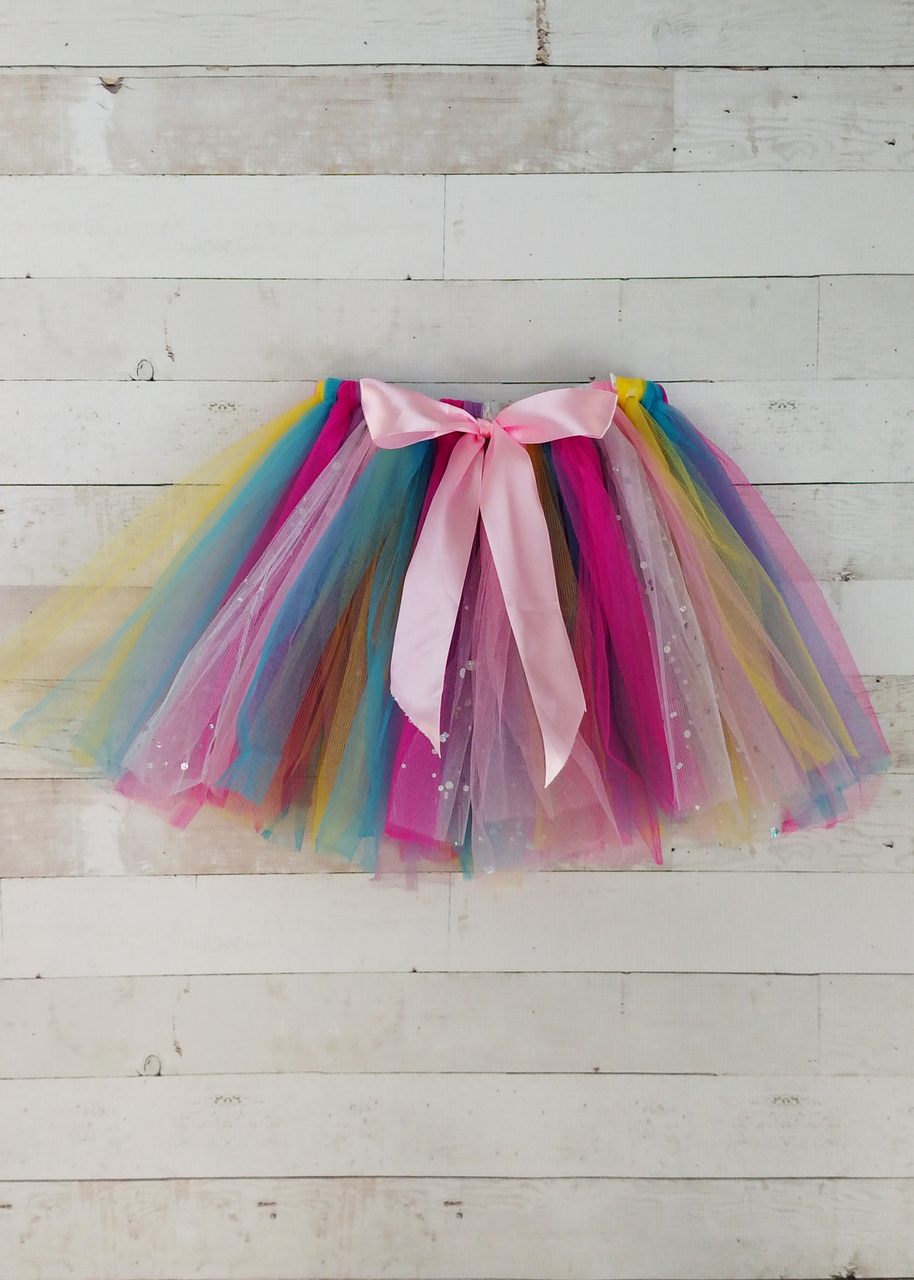
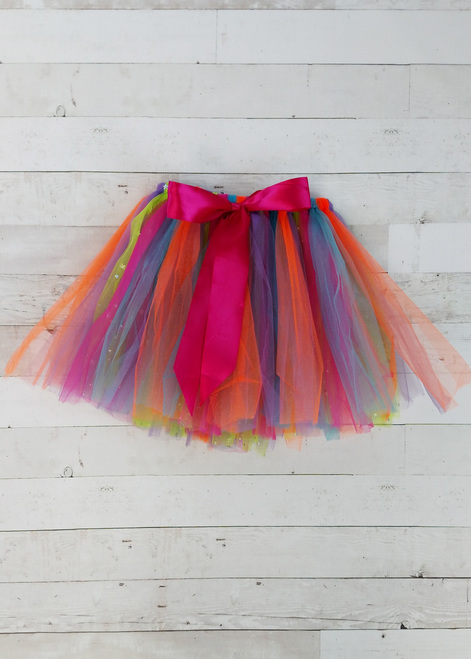
Short on time? That's ok, you can grab our ready made RIBBON TIE TUTUS available!
Here are a few of ours available. You can SHOP THE COMPLETE SELECTION on our tutus page!
|
|

|
I know it is just now August, but Halloween is just around the corner. Most people won't start thinking about costumes for another month or two, but if you're planning to DIY your daughter's costume, this tutorial will come in handy!
We have done tutu tutorials in the past, but this one is a ribbon tie tutorial. These are fabulous because they are EASY and you can make them any size you need.
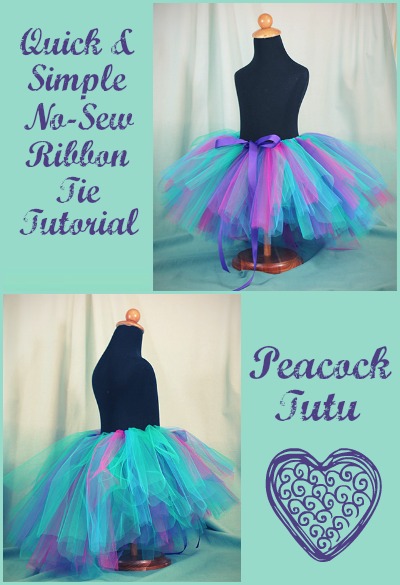
This peacock tutu is made to fit a 3-4 year old. The waist band is 21", plus at least a foot on either side for the bow.
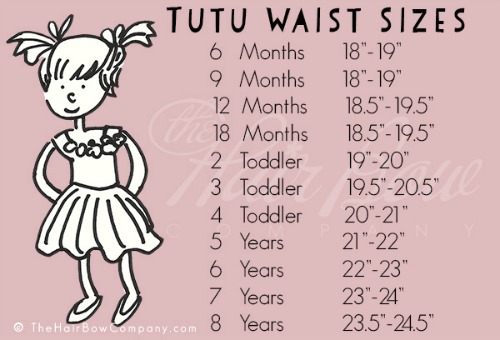
(To create your own custom tutu, check out our waist size guide!)
I decided to use 4 colors of tulle on this peacock tutu. Purple, fuchsia, turquoise, and teal. The strips of tulle were attached in a pattern, but I did two strips of teal and only one strip of each of the other colors.
You can create your tutu any length you like. I think a long tutu would be absolutely lovely. Instead we decided to do a tiered look. The length in the front is about 9" long, the strips along along the sides are about 11", and the back is about 14".
Gather your supplies: Tulle, ribbon, scissors. I ended up needing a few extra strands from another roll of teal tulle, but you could get by without it if you just add some extra purple or something. Cut your ribbon to size. Use the chart above and add at least a foot to each side.
Cut your tulle to size. DOUBLE THE LENGTH! (For the 9" pieces, cut them about 18" long, etc.) Don't cut it all at once since you don't know how many 9, 11, and 14 inch pieces you'll need.
Fold your ribbon in half to find the center. Start in the middle with the 14" (actually 28") strips.
Fold the tulle in half and see steps 3-5 above for the exact way to tie it. Attaching one strip at a time, work your way around the ribbon. Remember that you started in the middle of the back, so you'll need to attach the tulle on both sides of that center strip.
You can bunch the tulle knots together, creating a really fluffy tutu. The one pictured above is how it looks if you don't squish the knots together. Keep in mind that if you want a really full tutu, you will need extra tulle.
I hope those directions are clear. It really is a simple process! I hope this inspires you to create something fun for your daughter (or you!) for Halloween. We will have a couple other fun tutu ideas between now and then, so sit tight!
WIN THIS TUTU: Leave a comment on this post if you have a 3-4 year old who would like to have this fun little tutu! We'll announce a winner next week.
Or grab our ready made RIBBON TIE TUTUS available!
SHOP THE SELECTION here:

|
|
|

Supplies:
-
Tulle
-
Ribbon