

DIY Color Chalk Photo Basics - How to Avoid My Mistakes!
Posted by Guest Blogger Allie from AvaK Photography on Oct 6th 2017
Our photographer Allie is back on the blog with tips on colored chalk for photo sessions. Allie gets up to some interesting things in the name of getting the shot as The Hair Bow Company photographer! We are so happy to have her sharing her adventures (and lessons learned) here with us! Allie calls her series of posts for us the "Hot Mess Household Blog - A blog dedicated to all of the "Hopeless Pinterest Fail" moms who really try hard, but always come up short in the final creation department!" We think she doesn't give herself enough credit since we absolutely love all the DIY's she's come up with for us and for our photo shoots, but we appreciate the inspiration for all the other "Pinterest Fail Moms" out there!
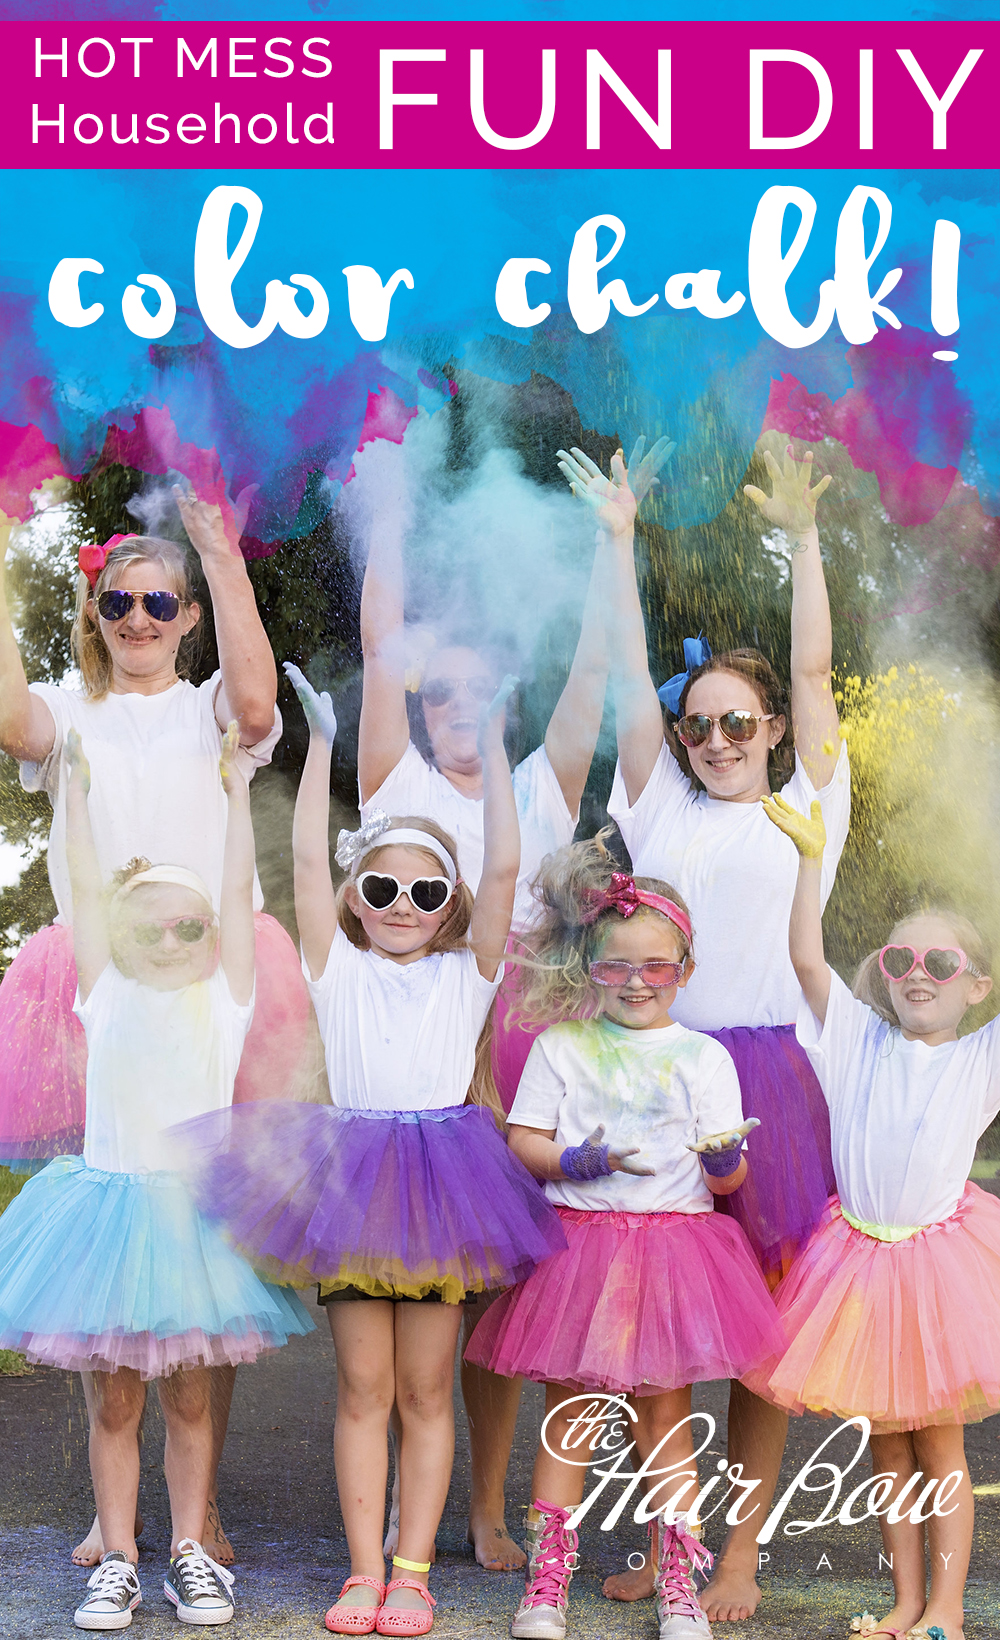
Hot Mess Household Blog - DIY Colored Chalk For Fun Runs
I am back again to share with you all my experiences in creating a "Fun Run" themed shoot for The Hair Bow Company. I am so thankful that I am a part of a company that allows me to be creative, and let the models have a blast in the process! In true "Hot Mess Household" style however, I did make all the mistakes so that you don't have to! I have been a children's fashion photographer for 5 years, and the most important lesson I have learned is that, if they love what they are doing, so will everyone else! I try to create a fun and lighthearted atmosphere with no pressure to be perfect. This is a wonderful weekend project that your kids will remember for years to come. These are the moments we need to capture. So put on your white tees, tutus, grab your babies, and their friends and have a blast! The "chalk" is not actually chalk, and is non-toxic, and easy to clean! Shake it off and go!
Things you will need:
- Corn Starch
- Color Paste or Color Gel (I used the Wilton brand, for a bolder color)
DON'T: I used regular food coloring for first round, and it was a pale lifeless color, not great for photos!
3. Rubber Gloves
DON'T: Please do not skip this step like I did! I looked like Mama Smurf for 4 days!
4. Large foil pans from the Dollar Store for Mixing.
5. Blender
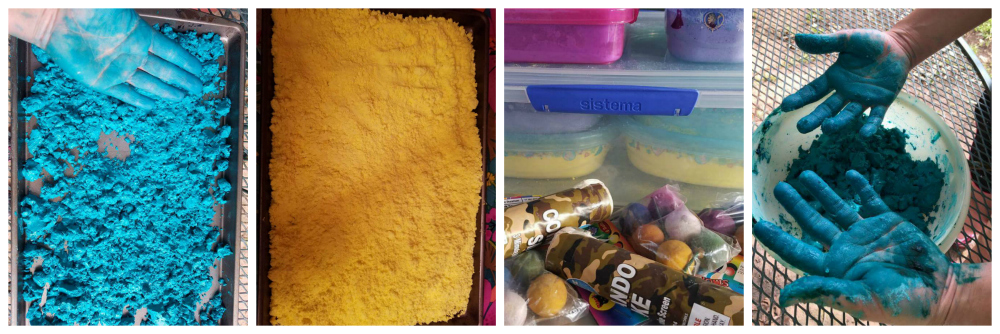
In a pan, mix 2 cups corn starch and one cup water. Do not stray from this mixture, no matter how many color variations, or batches you make. (Trust me, I made that mistake several times) Mixture is SUPER tough and hard to mix, so jump on in there and use your gloved hands!
Once it is mixed well, add 1oz of your choice of color paste. Mix again with gloved hands until color is mixed well.
Repeat same process for each color.
If you have some time use the following, Two day option.
Two Day Option:
Place each pan in a dry location, for a minimum of two days, and stir with a fork to break up any large chunks. Once dry, use a blender to remove all of the large chunks into a fine powder. Separate each color. Make sure you get it as fine as possible to avoid any clumps into anyone's eyes! Repeat process for each color, and separate into jars or containers by color.
It's My Chalk Party & I want it NOW! Option:
After my failed attempts at using regular dye, and not the color gels, I needed to create my own FAST chalk option, to make deadline. It worked, and my5 year- old had a blast!
2 cups corn starch
½ jar Wiltons Dye
¾ cup water
Pans
Rubber Gloves
Preheat oven to 170 degrees.
Pour 1 cup corn starch into a large bowl.
Add in a 1/2 jar of icing coloring in the color of your choice. I suggest a color paste, not regular food coloring.
Pour in 3/4 cup water and mix.
Slowly pour in the rest of the corn starch as you mix.
Mixture will be tough, but get in there with your gloved hands. Break up large chunks with a fork.
Pour the mixture onto a cookie sheet, spreading out into a thin layer.
Bake in oven for 60 minutes, stirring mixture every 20 minutes, or until no longer "moist"
Remove from oven, let cool.
Pour into blender, and mix until a fine powder is reached. Make sure there are no clumps!
Use same process for each color. Place into jars, or containers by color.
LET THE CHALK THROWING PARTY BEGIN!!!!
Perfect for weddings, fun runs, girl parties, birthday parties, events, photoshoots, school fundraisers, and anything else you can think of!!!! If you need a tutu for your photo session or fun run, THBC has you covered! We have sizes and styles for girls and women, including a plus size tutu skirt for women!
Resources:
Photos & Tutorial by Allie Barrow of AvaK Photography