

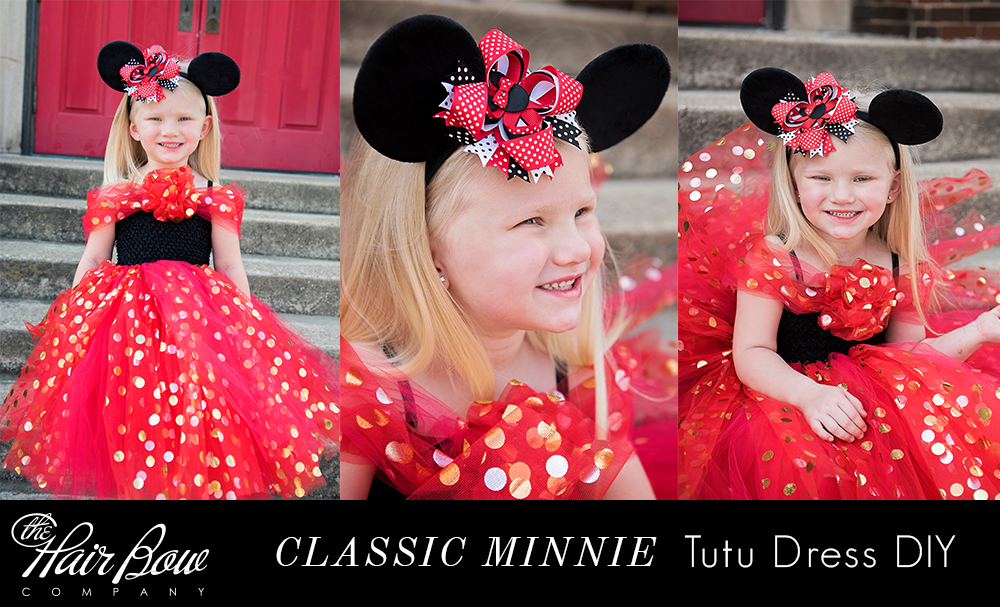
Classic Minnie Mouse Tutu Dress DIY Tutorial
Posted by Guest Blogger Caitlin from An Enchanted Box on Sep 27th 2017
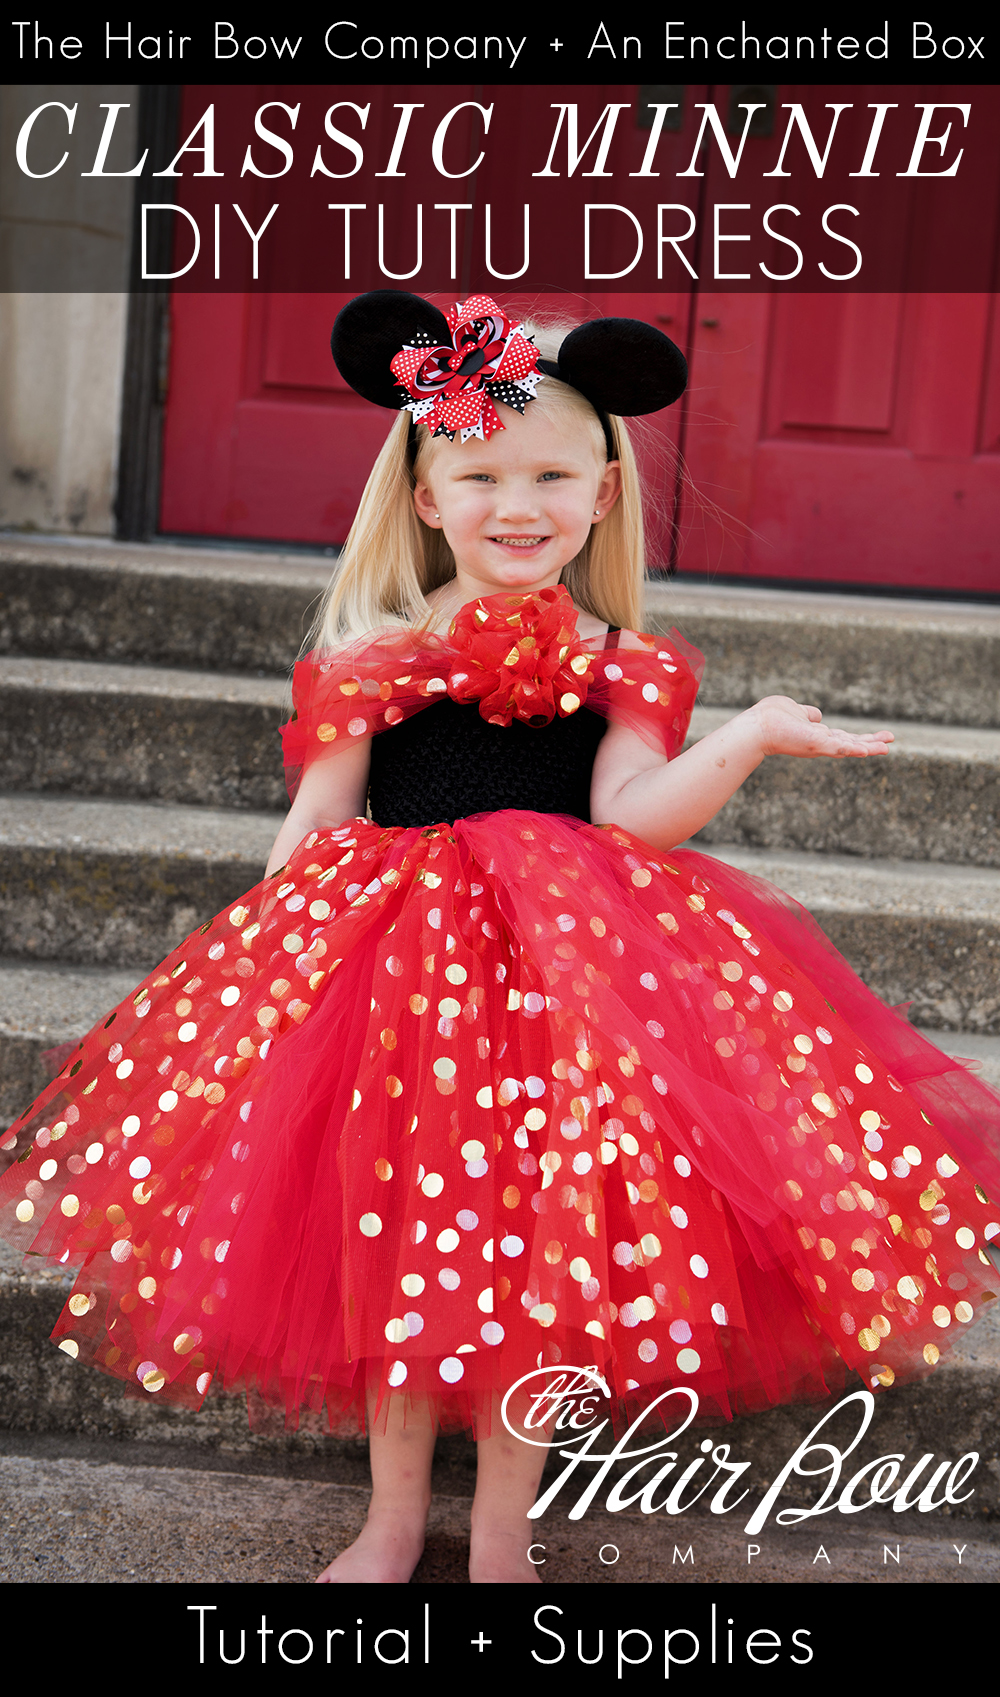
For this fun tutu dress we are welcoming back guest blogger Caitlin of An Enchanted Box on Etsy, where you can find her charming tutus & tutu dresses! This Minnie Mouse tutu dress was created with The Hair Bow Company supplies below, but if you aren't a DIY'er yourself, you can find a selection of tutus available ready to go at An Enchanted Box!
DIY Classic Red Minnie Mouse Tutu Gown
You can’t get any more timeless than Minnie Mouse! Whether you’re planning a special family
vacation, wanting to make a birthday gown or looking for a Halloween costume, with these
directions and some supplies from The Hair Bow Company you will be right on your tutu-
making way!
Bodice:
1 Black 8” Lined Crochet Tutu Top*
Tulle*:
5 rolls of Red
1 roll of the Gold Polka Dot Tulle in Red
Embellishments:
3/8” Black Grosgrain Ribbon
1 Polka Dot Mouse Bow in Red (optional)
1 Costume Mouse Ears Headband (optional)
Additional Items:
Scissors
Recommended:
Crochet Hook
Safety Pin
Fray Check or Lighter
Cardboard or something thin that measures 15” in length
* NOTE: This dress is designed to fit the average three or four-year- old. For children unusually
sized for that age range or those who are younger or older, you may need to change the size of
the lined tutu top. Consider using a lined 7” tutu top for children under three and a 10” tutu top
for children five and up. Check out The Hair Bow Company’s website for details regarding
dimensions and adjust your tulle material accordingly.

Step One: Cutting the Tulle
You will begin by cutting two 65” strips of tulle from the red and one from the polka dot tulle.
Set these aside to be used for the poofy sleeves later. Cut the remaining tulle into 30” strips. TIP:
if you find a box, cookie sheet or cutting board that is 15” long, you can simply wrap the tulle
around it and make a single cut, thus saving you considerable time!
Step Two: The Skirt Pattern
You will be making two rows of tulle around the bodice. I recommend completing the entire first
row of the skirt before moving on to the second as this will help keep your rows even.
You will use two strips of red tulle for each hole on the first row. On the second row, you will
use one strip for each hole and alternate between the red tulle and the polka dot.
Classic Minnie Mouse Tutu Dress Tutorial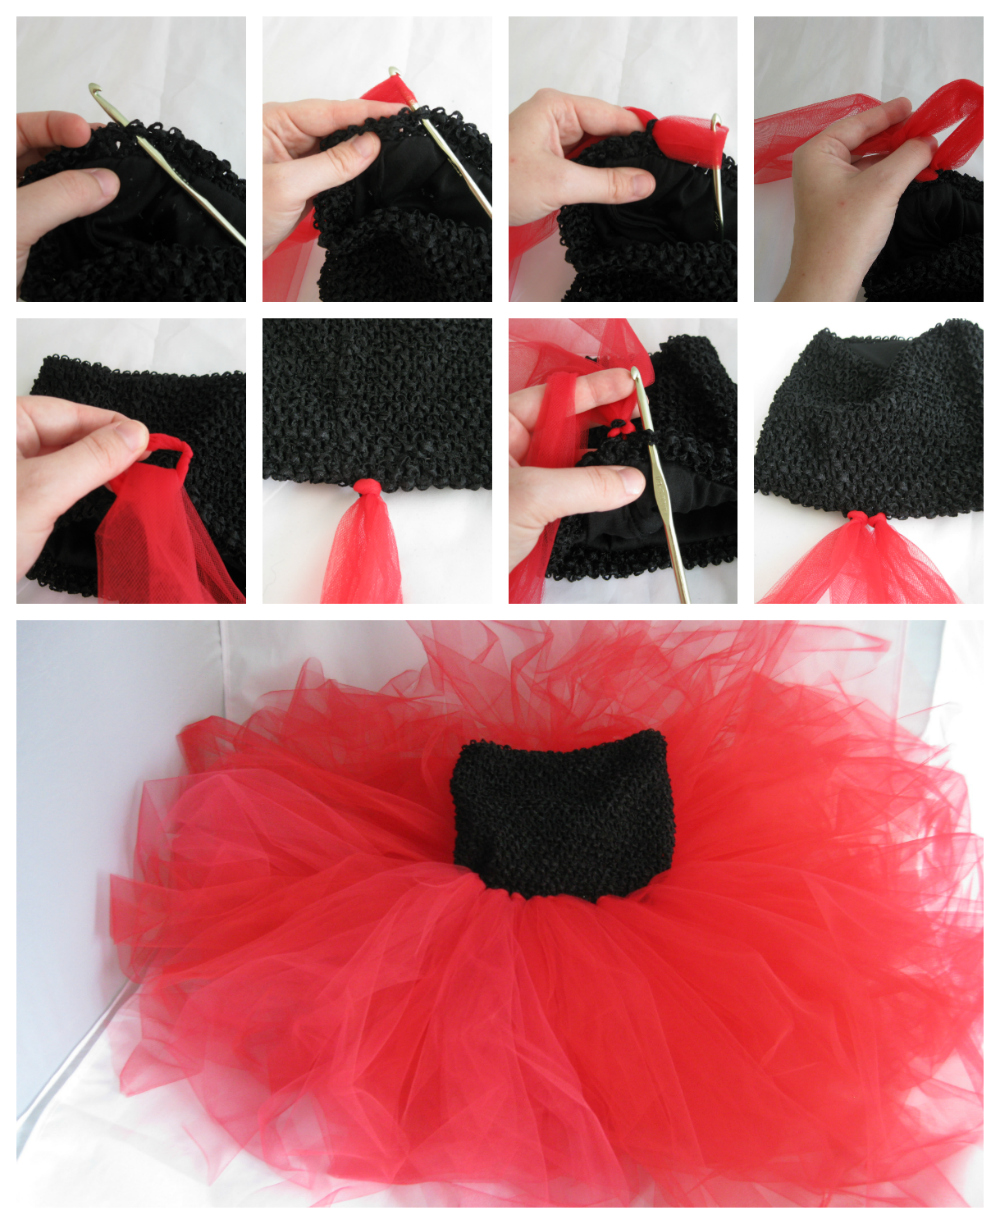
Step Three: Attaching the Skirt
Always be sure that you are tying your knots in the right holes. There should be a solid square
between the knot and the lining. Take the two strips of tulle that you will be threading into the
hole, layer them on top of each other and then fold the double strip in half to find the center thus
making the strip 15” in length. To attach the tulle of the skirt to the bodice you will implement a
basic Larks Head knot. Don’t worry, it’s not a complicated knot! All you do is take the crochet
hook and go up under the hole and out the other side. Then, grab your double strip of tulle where
you folded it at the center with the crochet hook and pull a couple of inches through to create a
loop. Take the tails of your tulle and pull them all the way through the loop you made, and, ta-
da!, you have yourself a Larks Head knot. You’re just going to repeat all the way around to
attach your skirt. After you’ve completed the first row, move up to the second by going to the
square immediately above the first row. TIP: to get a cleaner look to your Larks Head knot, roll
the tulle between your fingers just before tightening it as this will keep all the fibers close
together.
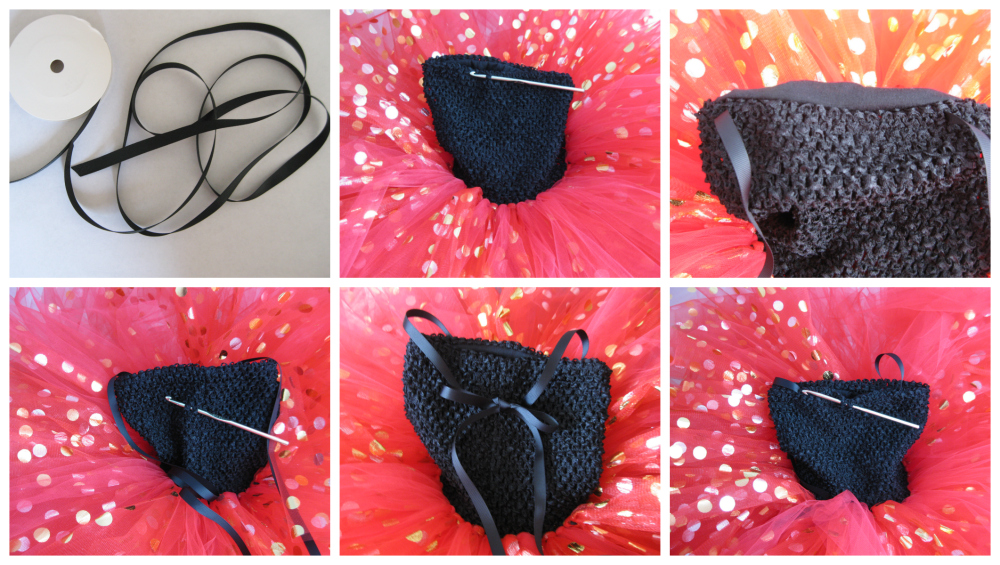
Step Four: Ribbon Straps
Once you have finished the skirt, it is time to move on to the bodice. First, count how many holes
are around the top of bodice in order to locate the middle of the front. I recommend that you very
gently slip a safety pin in the hole one or two spaces below that middle square so that you don’t
lose track of it but it is not in the way. Just as with the bottom of the skirt, be sure you are
working on the row that has a solid square between it and the edge. Count out seven holes to the
left, then seven to the right of middle, for a total of fifteen holes in the row. Take your crochet
hook and go under those fifteen holes between the bodice and the liner. Cut 50” of your black
ribbon. Hook the ribbon and gently pull it through and, viola!, you have the front part of the
straps! TIP: seal the cut ribbon ends with either Fray Check or sear the edges quickly with the
flame from a lighter. Do NOT use a candle as that will leave a soot mark on the ribbon.
Step Five: The Back of the Ribbon Straps
On the back of the dress, count three rows down along the seam (which should be in the center
back), then, count three holes to the left. Now, take your crochet hook and go under the two
furthest holes and pull the ribbon through so that it comes out toward the seam but there is still a
hole between where the ribbon comes out and the seam. Do the same on the other side then tie a
bow and your straps are done!

Step Six: The Poofy Sleeves
Take the three 65” strips you cut earlier. Gently fold into thirds or roll (like a scroll) the edges
toward the middle lengthwise. This will keep the raw edges of the tulle on the inside to give the
sleeves a more polished lool. Once you have folded / rolled each of the three pieces, lay all three
on top of each other and pinch the middle of this triple strip. Pull half of the tulle striping through
the middle front hole, making sure that you have a solid square between the square you a pulling
the sleeves through and the edge of the bodice. The center the triple strip will now be in the
center of the bodice, with half to the left and half to the right.

Step Seven: Finishing the Poofy Sleeves
You’re almost there! To finish off the poofy sleeves, go one hole diagonally above where the
ribbon straps went through the back and then two across moving away from the seam. Go under
two holes, and grab one side of the ribbon sleeves and pull them gently through to whatever
poofiness you desire. Do NOT pull the poofy sleeves tight or your princess will not be able to get
her arms through. You will probably need to slightly adjust the tulle so that the stripes are clear
and not jumbled. Now, this is the tricky part. Take your crochet hook and, between those two
holes, pull the tulle up a few inches to create a loop. Then take the tales of the sleeves and pull
them through the loop to tighten the loop and knot them into place. Repeat on the other side then
trim the ends to desired length. Or, skip all this knot tying and just the tails and tie a bow in the
back of the dress.
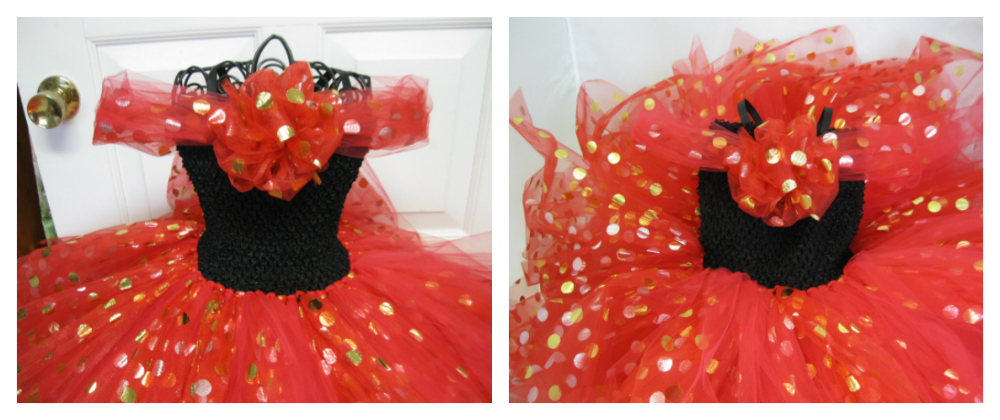
Step Eight: Finishing Touches
Okay so now you have a few options. If you would like to be done by this point, then take a
Polka Dot Mouse Bow in Red and clip it onto that center square in the front of your gown and
presto! you’re finished. If you would like to make a bow out of the polka dot tulle then simply
cut another 65” strip, fold it in half long ways and then do an according fold about 4” long and as
many folds as you would desire. I recommend four loops on each side but, to make it fluffier,
just keep making loops. Next, take a piece of thin ribbon and tie a knot as tightly as you can
around the middle of your according fold. Gently flair out each fold. Finally, take the ends of the
ribbon and tie it around that middle square in the front center of the gown to secure the bow. Cut
off any excess.
Step Nine: You Did It!
Way to go! You are a fairy godmother in the making, having created this dress for your little
princess.
You’ll find this completed Minnie Mouse dress and more available on my store at
www.etsy.com/shop/AnEnchantedBox
Resources:
Process photos, DIY & Crafting Expertise courtesy Caitlin of An Enchanted Box
Model Photography by Ava K Photography
You can find tulle here at The Hair Bow Company.
You can find crochet headbands here at The Hair Bow Company.
Shop Caitlin's ready made tutu dresses here at An Enchanted Box.